If you are anything like me, you are always in search of ways to keep your writers writing. When I can integrate writing with another subject area, it is a win-win! During our study of pioneer and The Oregon Trail, pioneer journals are fun way for students to use their creative brains, practice their narrative writing, and share what they are learning with others!
Every year, the fourth graders at my school participate in an Oregon Trail simulation. Students are grouped in wagon trains groups, select a wagon master to lead them on their journey to Oregon, and buy supplies.
Wagon trains earn points which help them move along the trail. As they move across the Oregon Trail map, they learn about the landforms, native people, and the dangers pioneers faced as they made the treacherous journey.
One of the ways students document their trials and tribulations along the trail is by writing in their pioneer journals. This is a great way for students to practice narrative writing while learning about a history!
Before my students make their journals, we talk about how important the journals of the pioneers are to preserving history. Much of what we know about pioneer life and the trip west we know because of these primary documents. After that introduction, we get busy making our journals!
The materials you will need for making the journals are pretty easy to come by.
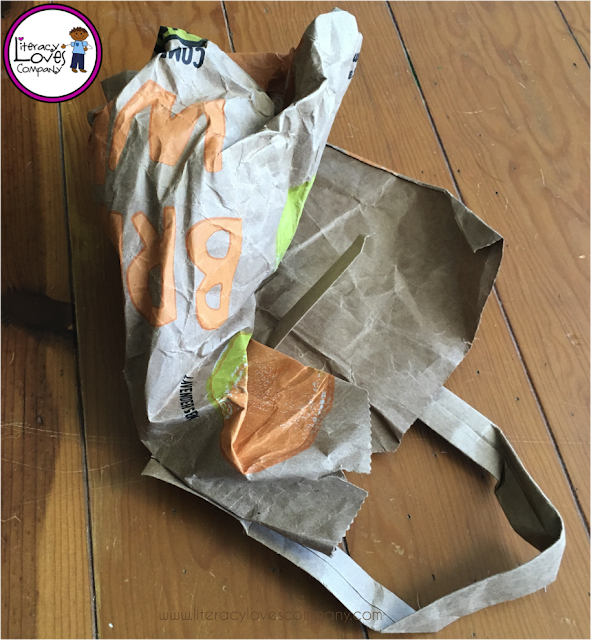
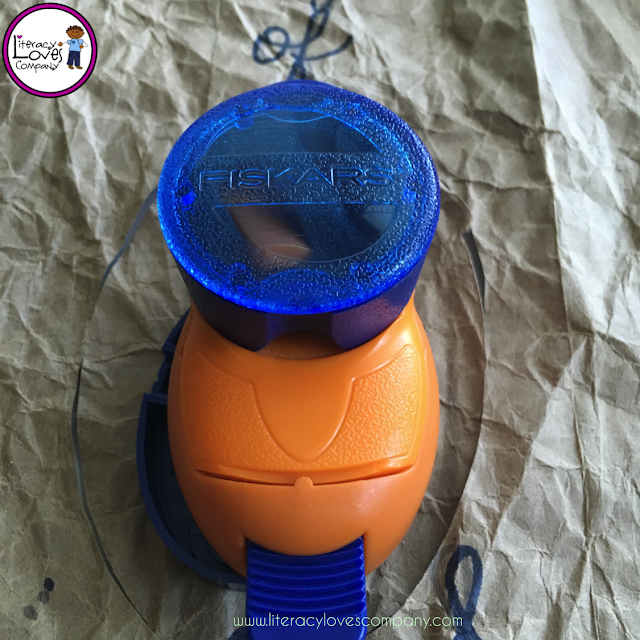
You will need a large paper bag for each student. I just had students bring them from home. You will also need yarn or twine, masking tape, a heavy duty hole punch. An electric hole punch would work the best, but I have a two hole punch at school that I used. It is heavy duty and works great! My three hole punch works well too. You'll see a picture of it a bit later. The one shown above DOES NOT work well. I'm not sure why I added it to the photo. :) For the journals you will also need either lined or unlined paper. I gave my students a choice. Each student will need 10 - 15 pages.
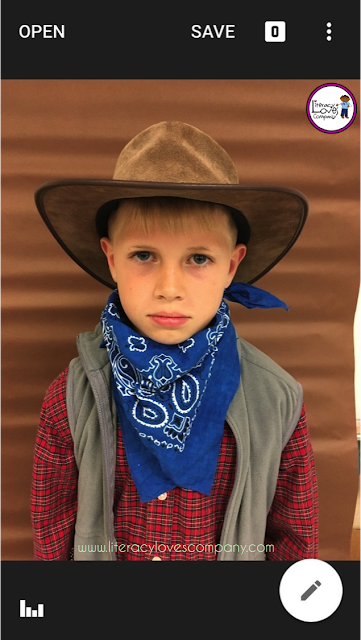
At some point, you will need your students' pioneer portraits. On the day my class was building their journals, we held our photo shoot. I photo edited (more on how to do this later in the post) and had the photos printed over the weekend so that we could finish our journals the next week.
The first thing your students will need to do is cut the bottom out of their bag. Using a good pair of scissors, model for them how to cut down one corner crease and then around the bottom section of the bag. When you are done, you will have one large section. If your bags have handles, they can be used for a latch which I'll explain later.
Now for the fun (and LOUD) part! In order to soften up the paper and make it easer to work with (and make it look and feel more like real rawhide) students will need to work their paper. This means they will need to crinkle it up and smooth it out over and over and over and over and over again! The more they work their paper, the more it breaks down the paper fibers and it gets softer and softer. This gets noisy! I suggest having students carefully roll it up and then step on it, putting as much weight as possible. They will need to be careful though. The paper will rip pretty easily.
Once students are happy with the feel of their paper (or when you can't take the noise anymore) have students carefully smooth out their paper as much as they can.
Now students can either measure how big their covers will need to be or, how we did it, eyeball it!
The paper should wrap around both the front and the back to make both covers. In the end, the cover should be be one continuous piece that just gets folded. This could be a great math lesson! Students will need to trip their paper so that it isn't too much bigger than the paper it will hold.
When the covers have been trimmed, you will now need to hole punch them. I suggest punching 4 - 5 holes.
In class, we used yarn that I had on hand to bind our books. You could also use twine.
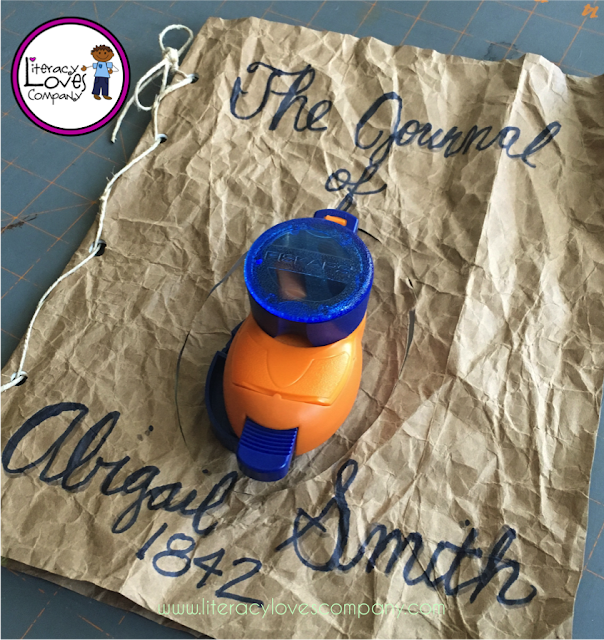
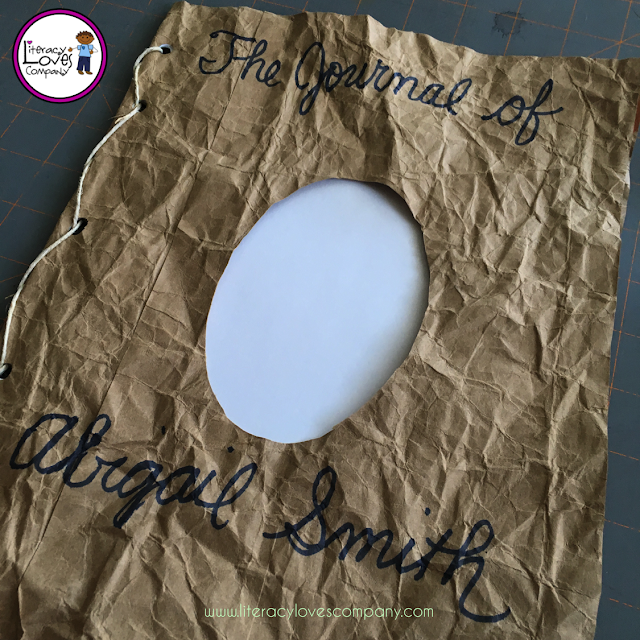
After journals are bound, have students title their journals. Each of my students have pioneer names to go with their pioneer identities. Students used Sharpie markers to write on their journals. The Sharpie bled through the covers, so next year, I'm going to have to remember to plan for that.
If you are adding Pioneer Portraits, each student will need to leave a large space in the middle of their journal for their picture.
As a fun added element, students could put "latches" on their journals. Some of our bags had handles and one of my students creatively came up with this ingenious way to keep her journal closed!Using the handle pieces, she glued a small part in the front to make a loop. and a larger piece in the back that wrapped around the side of the book and tucked through the loop on the front.
I was pretty impressed! This may become a regular addition to the pioneer journals in the future!
Now that the journals are done, let's talk about the Pioneer Portraits!
This year, I tried something a little different for our journals. I included a Pioneer Portrait of each student. They turned out amazing and were very easy to do. All I used was my iPhone and a photo editing app called Snapseed.
On our journal making day, I asked all students to bring clothing and props that we could use as part of our photo shoot. Students brought hats, bonnets, vests, scarves, aprons, and more. I put up a brown piece of butcher paper on the wall and each student stood in front of it as I took their photograph. While I took the photographs, the rest of the students were working on their journals or getting dressed in their pioneer garb.
Once I had all of the photographs, and later that night, I sat down with my phone and worked on the photo editing. Like I said, this was my first time doing this and I am no photo editing expert! I'm going to share how I did it. If you know of tricks and tips that would make the process better, please share them in the comments. Actually, editing the photos wasn't painful at all. Once I figured out the filters I wanted to use, it was just a matter of repeating the steps over and over again 28 times.
The first thing I did was open up the app Snapseed on my iPhone.
I opened a photo of one of my students...
then I clicked on "FILTERS".
The first filter I chose was "BLACK & WHITE" and picked the "film" option. This gave the photo a bit of a grainy look to it.
The second filter I chose was "GRAINY FILM". This added a bit more graininess to the photo.
The third filter I used was "VINTAGE". This filter made the photo more brown, which is what I was wanting.
The next step was "LENS BLUR". This filter blurred out the edges of the photograph.
Finally, I opened the tools and chose "VIGNETTE".
This tool darkens the area around the subject of the photograph. When it was all said and done, this is the beautiful photograph I ended up with. It makes my heart happy!
When I was done editing all of the photographs, I sent them to Costco for printing. They cost me about 17¢ each to print. Well worth it!
We used this oval cutter by Fiskars, purchased specifically for this project!
Once the ovals were cut, the photos were added.
It was as simple as using masking tape and taping the portraits on the inside cover of each journal. And here are the final results! They turned out great and the students love them.
Since the events and language need to be historically accurate in the writing, journals and diaries written from the perspective of a historical figure or an imaginary person during an important time in history is a meaningful way for students to construct a deeper understanding of the past and share that understanding with others.
 |
| Please Pin Me! |
If you are interested in more things "Pioneer", click HERE for my post on our annual Pioneer Day! It's a day full of pioneer activities, crafts, food, and fun!
Thank you for visiting Literacy Loves Company! If you have any questions about the project or ideas that would enhance it, please share in the comment section! I'd love to hear from you.


